.thumb.png.44d9b618c61bf705fd784321e09ba71f.png)


Xoro
-
Posts
32 -
Joined
-
Last visited
-
Days Won
12
Content Type
Profiles
Forums
Downloads
Everything posted by Xoro
-
Welcome! I'm glad you decided to stop by. We have a lot of content planned for this year so stay tuned! Be sure to show us your console in the console of the month thread while you're here so we can see what awesome console your have.
-
Looking good! Good luck!
-
Welcome to the forums! We appreciate you stopping by and look forward to seeing what you share!
-
I don't really have a brand loyalty outside of AMD with their Ryzen platform. I have been using it since it launch and it has only gotten better. I also only use nVidia GPUs since the support was always greater in the past and I and pretty stuck in my ways. I do like MSI, Lian Li, ASUS ROG, and Corsair though. Glorious is also a pretty good company in my opinion especially for the price. I love my Glorious Model O-.
-
Nice setup! Cool to see the magic behind the autolobbies lol.
-

Skyrim is probably the most buggy game I've played on the 360
Xoro replied to kalilovesa7x's topic in General Discussion
I might download it and give patching it a shot. I haven't messed with Skyrim but modded the hell out of Fallout 3 and New Vegas with moderate success and limited to no crashes. We shall see. -
Thanks! Glad it helped!
-
Welcome back to the scene! A few of us are in the exact same boat; did it back in the day and took a break until recently. We hope to see you around!
-
Welcome! Thanks for joining us. We hope to see you around!
-
Xoro*
-
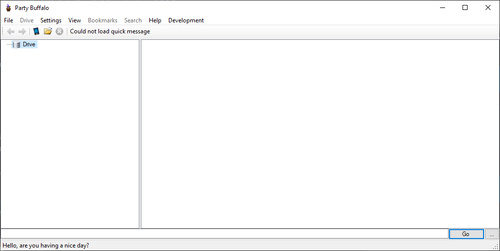
Welcome Today, we will be building custom skins for XShell. If you don't know what XShell is, it is the dashboard for XDKs. If you have a dev kit or RGLoader console, this is for you! Requirements - XDK or RGLoader - XShell Skin PSD - Party Buffalo - JRunner with Extras Getting Started To begin, open the PSD in Photoshop. I will be using Photoshop CS6. You will see 4 layers and an example image. Change the background, customize the navbars, and whatever else you would like and then save your image as "bg_image_blue.png". In the JRunner folder, navigate to "J-Runner-with-Extras\xeBuild\17489" and locate "xlaunch.fdf". Open Party Buffalo and open the "xlaunch.fdf" file that you just found. Once opened, expand the images tab on the left side. On the right side, after you click images, right-click and select Inject New File or press CTRL+N and inject the "bg_image_blue.png" that we created earlier. You will get a warning about overwriting an existing file; click "YES". That's it! Create your new RGLoader image using JRunner or replace the "xlaunch.fdf" in your Recovery image if using a XDK. Conclusion You have just created a custom skin for your XShell! You can now look Ub3r L33t with your custom Dev Kit.
-
Version 2.0.1.0
4 downloads
Party Buffalo is a Xbox 360 drive explorer. It is outdated but still useful and doesn't require a license. -
Version 1.0.0
10 downloads
This is a PSD that allows you to make custom XShell themes easily. -
Welcome Today, we will be building and flashing a RGLoader NAND that works on Big Block Jaspers using RGH3. All credit for this method and the files used go to KiwiMeoWii. Requirements - Big Block Jasper w/ RGH3* - Your RGH3 NAND - JRunner with Extras - RGLoader for BB Jasper *NOTE: Must be on 17559 with the avatar update done before flashing to use avatars. Features - xshell + Retail (with or without the HDD) - xshell spoofed to 17559, Retail 17489 (without HDD) (with HDD Retail also spoofed to 17559) - Launch xshell in the HUD (replaces family settings) (works with or without HDD) - rgloader.ini on your FLASH. (Run plugins at your own risk) (enables Launch xshell in HUD. Hence the rgloader.ini is built into the NAND) - Connect via WIFI or directly to router. (Will connect to internet. Live connection will be blocked) - Avatars should work (if you done what I stated above) or place the 17559 $SystemUpdate folder on Root of HDD. Will apply avatar update if not applied already - Can run another rgloader.ini from root of HDD. Run plugins from this. I wouldn't use the one in flash but It can be used. (You were warned) - Disc drive: plays retail discs - XeLL via eject - Full XDK-RGL build. Flash filesystem will show via Neighborhood Configuring JRunner Once you have everything you need, let's start by setting JRunner up. Extract JRunner somewhere easily accessible. Then, take the RGLoader files that you downloaded and extract them to the root of the JRunner folder. Once done, your JRunner folder should look like the screenshot below. Extracting NAND Files Once we have JRunner setup, we need to extract our NAND files that will be used to build an image for our system. To do this, open JRunner and click "Load Source" then select your RGH3 (not original) NAND. Once JRunner finishes, there will be a new folder called "Extracts-xxxxx" where "xxxxx" is a placeholder for your console's serial number. Copy that folder to the root of your JRunner folder and remove the "Extracts-" part from the name leaving just the console's serial. Inside that folder, rename "KV_dec.bin" and "SMC_dec.bin" to just "KV.bin" and "SMC.bin" respectively. You will also need to place "cpukey.txt" inside this folder. Now we can run the "Build_JasperBB_RGLoader3.bat". This will prompt you to enter your console's serial number. This is the same as the folder we renamed in the last step. After you type your serial, hit enter. xeBuild will go through the process of building a RGH2 BB Jasper RGLoader image. YOU ARE NOT DONE YET! We must convert this image into a RGH3 compatible one. Press "Enter" once more to continue. Once the second build process is completed, you will see the following output confirming that everything is done. You can now close this window and open the folder that matches your console's serial number. There will be 2 new files; "RGLoader3.bin" and "RGLoader3_10.bin". These are your NAND images that you will flash. "RGLoader3_10.bin" is used in you selected the 10MHz I2C Slowdown Type. Otherwise, use the "RGLoader3.bin". Either flash this image with JRunner or your homebrew NAND flasher of choice. After you flash your NAND, on next boot, you will be greeted by xshell! Conclusion That's it! You just built and flashed RGLoader for your Big Block Jasper! Have fun and make sure to show us what you make!
-

Version 1.0.0
9 downloads
This is the required files to build RGLoader images for BB Jaspers. -
Welcome Today, we will be installing probably the most important software when it comes to owning a RGH/JTAG/XDK; Xbox 360 Neighborhood. Neighborhood allows basic FTP features as well as live peek/poking of values and running XEX files remotely. Requirements - XDKSetupXenon21256.3 (External Download) - [Optional] Microsoft Visual Studio 2010 (External Download) - Windows PC *Visual Studio 2010 is only required for a "full installation" where the IDE is configured with plugins and compilers for the development of homebrew or games. If you DO NOT plan on developing anything for the system and just wish to use the FTP and remote XEX launching features, you can skip this. Installation **Optional VS2010 Guide** Open "XDKSetupXenon21256.3.exe" Click "Next". Click "Next" again. Since I have Visual Studio 2010 installed, I will be doing a "full installation". Click "Next". Once it finishes installing, you're done! Click "Finish" to close the installer. Console Setup After you have installed Xbox 360 Neighborhood, there will be a new icon on your desktop. Click on "Add Xbox 360". Click "Next". Either enter "Jtag" or the IP address of your console. Select "Yes" when asked if you want to set the console as your default. Click "Next". That's it! You will now see your console in Xbox 360 Neighborhood!
-
Post your entries for May 2024 below!
-
Console of the Month We're excited to kick off our monthly console modding contest! Show off your creativity and skills by submitting pictures of your modded console, and let the community vote for the best one. Each month, we'll crown a winner who will receive a fantastic prize! Submission Guidelines: - Post clear and high-quality pictures of your modded console. - Soldering matters! Post your solder joints! - Include a brief description explaining the modifications you've made. - Only one entry per user per month. Voting Process: - Users can vote for their favorite console mod by liking the submission post. - Only one vote per user is allowed. - Voting will close at the end of the month. Winner Announcement: - The submission with the most likes at the end of the month will be declared the winner. - The winner will be announced within the first week of the following month. Prizes: - The winner will receive a prize as a token of our appreciation! This will change each month and can vary from a token to a stealth server, key to a tool, or even a console! Important Notes: - Any form of cheating or manipulation of votes will result in disqualification. - Respect all participants and their entries. Any form of harassment will not be tolerated and will lead to immediate disqualification.
-

Version 2.1
3 downloads
This is an all-client mod menu for TU9. It comes bundled with a patched default_mp.xex to load the DLL. -
Version 1.2a
5 downloads
This application is used to flash audio files to your JQ6500 sound chip. -
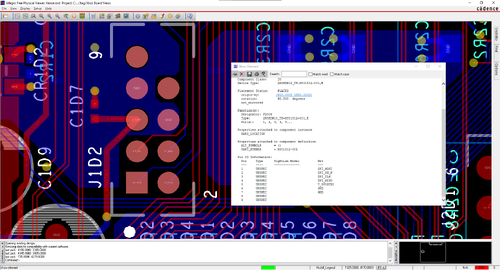
27 downloads
This is contains all known boardviews and schematics known publicly for the Xbox 360. There is also an installer for Allegro Free Physical Viewer 16.6 as it is the version needed to open the files. Schematics are in PDF format. -

Version 3.3.0r3
7 downloads
This is a fork of Octal450's J-Runner with Extras that adds support for programming glitch chips with a Raspberry Pi Pico. Usage: In the J-Runner folder navigate to /common/dirtypico for setup files Flash pico-DirtyJtag.uf2 to your Pico Open Zadig and install the LibUSB-win32 driver to the device labeled DirtyJtag Use the following pinout for connecting your Pico to the glitch chip: Pin name GPIO Pico Pin Number TDI GPIO16 21 TDO GPIO17 22 TCK GPIO18 24 TMS GPIO19 25 GND 23 VCC 36 Flash a timing file as you normally would in J-Runner -
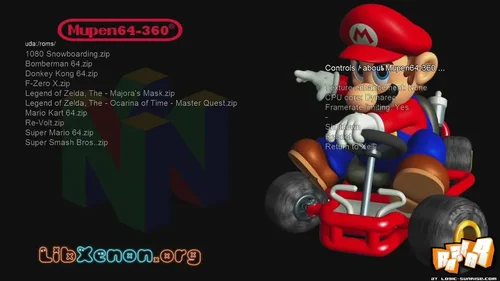
Version 0.993b2
2 downloads
Mupen64-360 is a Nintendo64 emulator for the Xbox 360, it's powered by libxenon and it's a port of Wii64 (which itself was a port of Mupen64). Usage: Unzip on USB sick Run from XeLL. Many ROM formats are supported, zipped ROMs also work. In the browser, the Back button changes the current drive, A selects, B goes to parent dir. Ingame, Back toggles Framerate limiting, and the Guide button quits to the browser. Other controls are described in the emulator itself. The browser background image is loaded from /mupen64-360/bg.png on the USB stick, other backgrounds are provided. -
Version 0.7b.2
12 downloads
Aurora is a custom dashboard focused around the coverflow design of its game launcher. Features include customizable skins, automatic download of game updates and cover art, the ability to organize games into categories, FTP support, integrated system link online play using LiNK, and a plugin system.